The SKS · Volume 10
Field Strip, Step by Step
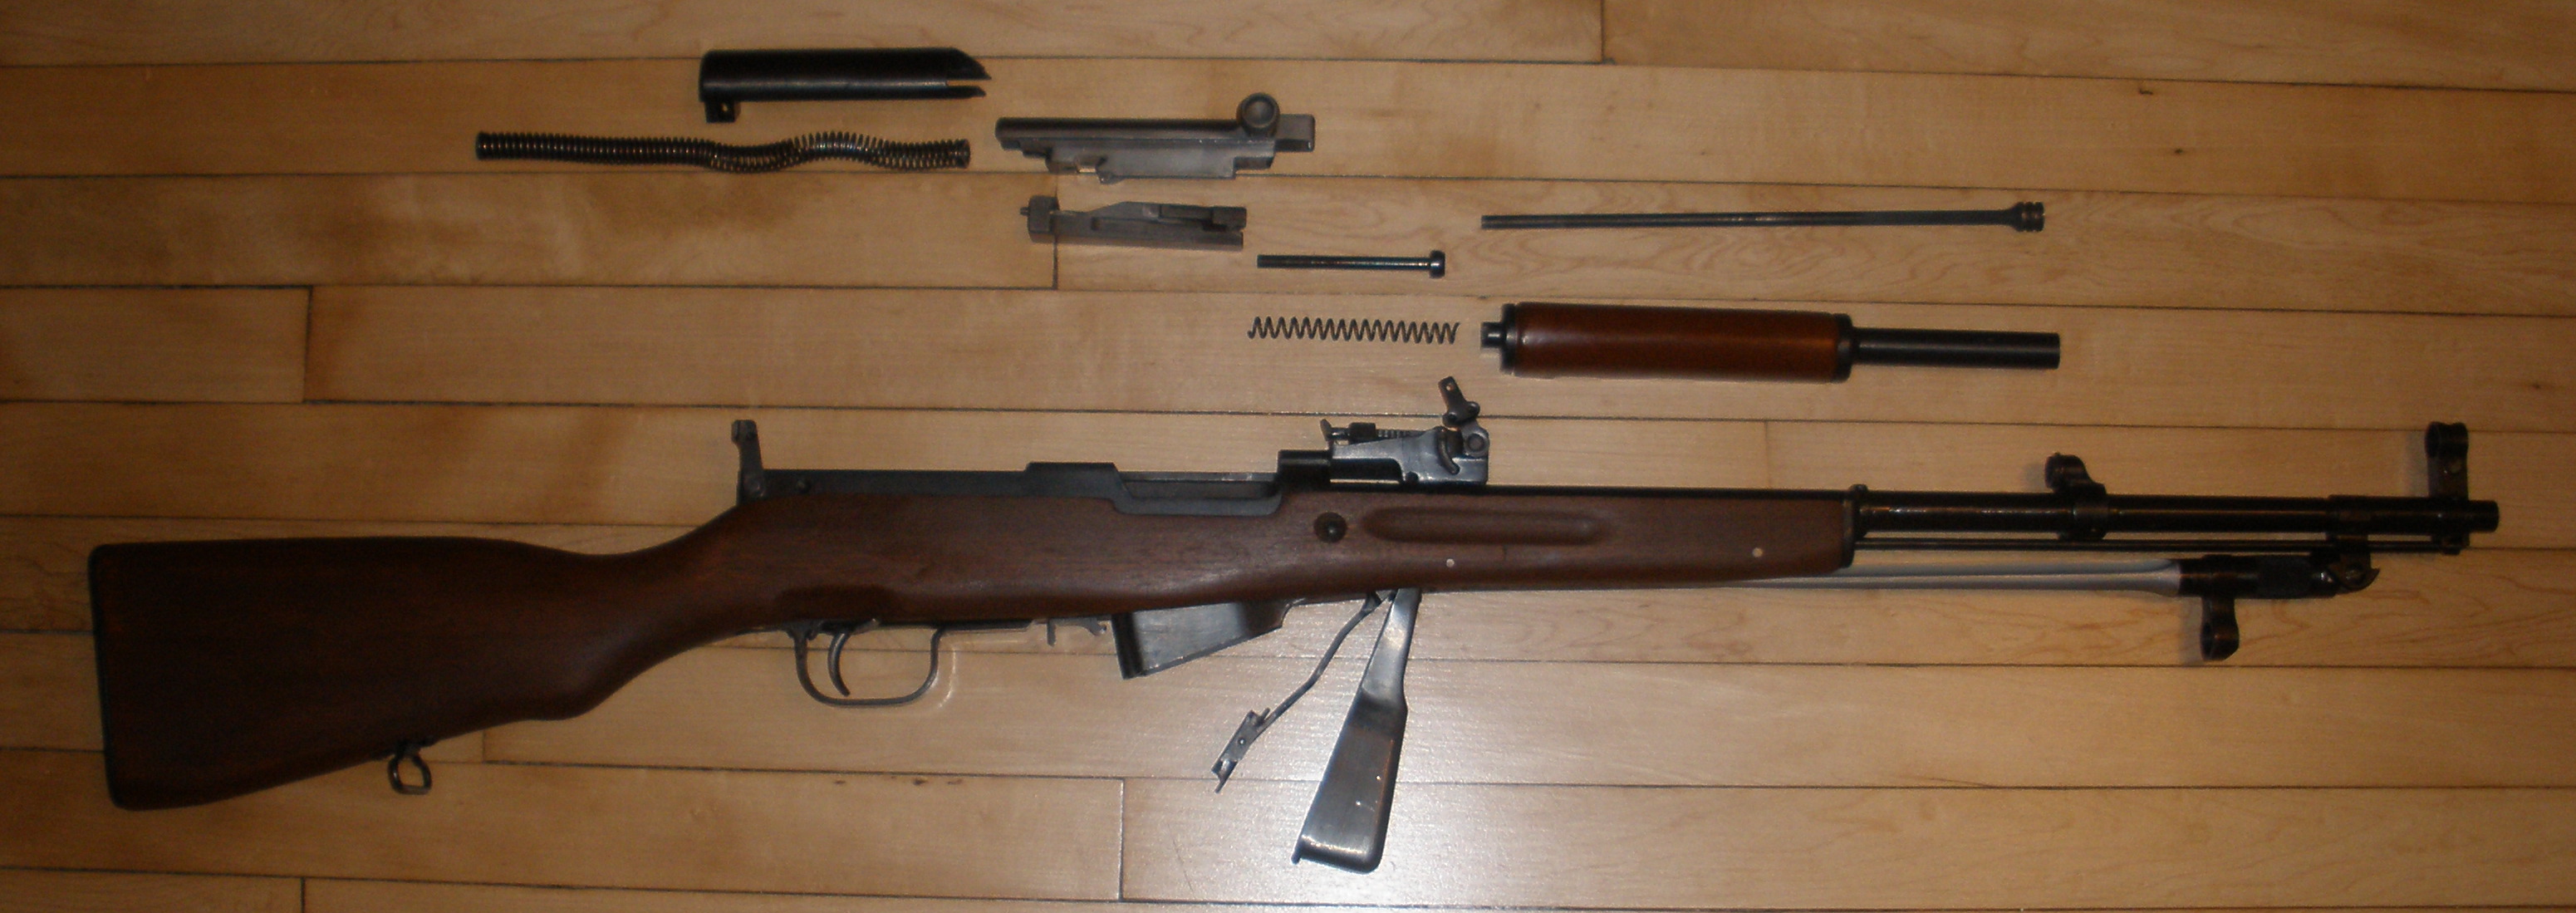
Field stripping an SKS needs no tools, takes under a minute once you know it, and produces six groups. There is one step where people hurt themselves and one step where people bend something, and both are called out below.
Everything here applies to every variant. The Yugoslav M59/66 has one extra consideration, noted at § 10.10.
10.1 Step 0 — Clear It. Properly.
This rifle has a fixed magazine and a free-floating firing pin, and that combination means clearing it is not the same as clearing a rifle with a detachable box.
- Point it somewhere safe.
- Open the magazine. Push the catch at the rear of the trigger guard forward; the magazine floor swings down and any rounds in it fall out. Do this first — before you touch the bolt.
- Pull the bolt fully to the rear and lock it back.
- Look in the chamber. Then put a finger in it. Not a glance — the SKS chamber is deep in a dark receiver and a chambered round is easy to miss.
- Ease the bolt forward on an empty chamber and put the safety on.
The reason for the ordering is that if you cycle the bolt first with a loaded magazine, you chamber a round. Open the magazine first and there is nothing to chamber.
10.2 Step 1 — Receiver Cover Retaining Lever
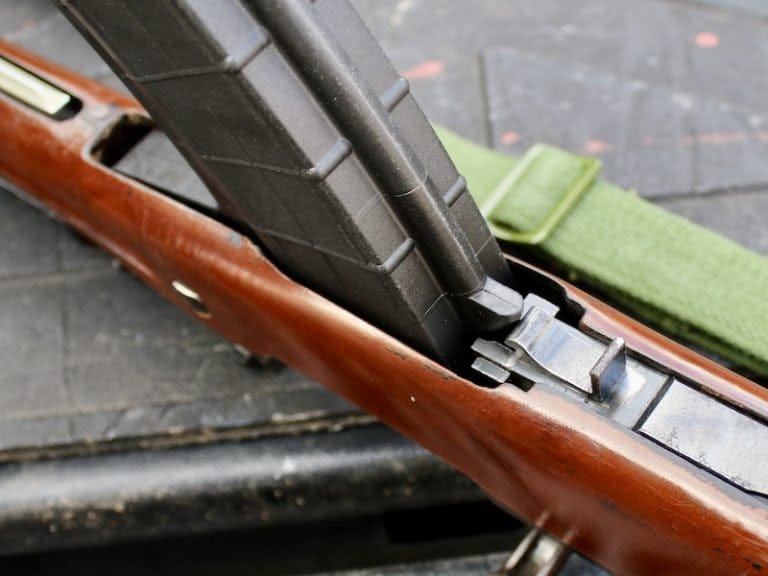
On the right rear of the receiver, level with the back of the ejection port, there is a lever with a flat head. It is the cover retainer, and it is also the pin the receiver cover pivots on.
Rotate it upward through about 90 degrees, then pull it outward to its stop. It will not come all the way out and it is not supposed to.
Some are stiff, especially on rifles that have been sitting. A cased rifle from decades of storage may need a firm push with a punch or the rim of a cartridge case against the head of the lever. Do not lever it with a screwdriver against the receiver; you will mark the receiver and you will not gain anything.
10.3 Step 2 — Receiver Cover
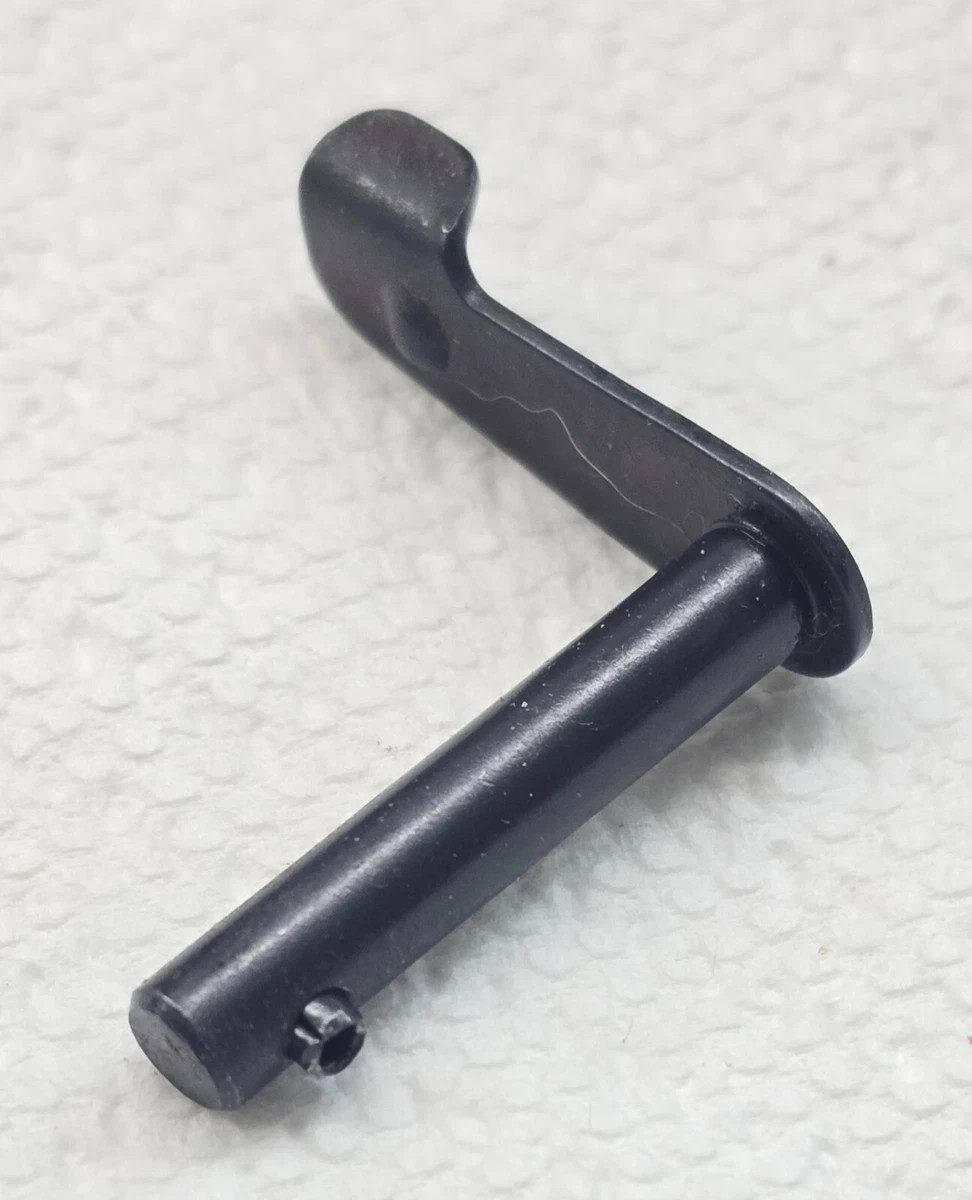
Pull the cover straight back and lift it off.
⚠ This is the step that hurts people. The recoil spring is under the cover and it is compressed. If you let go of the cover as it comes free, the spring assembly will launch it. Keep a thumb over the rear of the cover as you draw it back, and take the spring’s push on your hand rather than on your face.
The receiver cover is a stamped part held in place by the retaining lever and the pressure of the recoil spring. That is worth remembering when you get to Vol 14 and somebody offers to sell you a scope mount that clamps to it.
10.4 Step 3 — Recoil Spring Assembly
With the cover off, the recoil spring, its guide rod and the guide’s collar come out as one assembly. Disengage the front end from its seat in the bolt carrier and lift the whole thing out rearward.
It goes back in the same orientation. There is only one way it fits, but it is possible to get the collar sitting proud, so seat it properly.
10.5 Step 4 — Bolt Carrier and Bolt
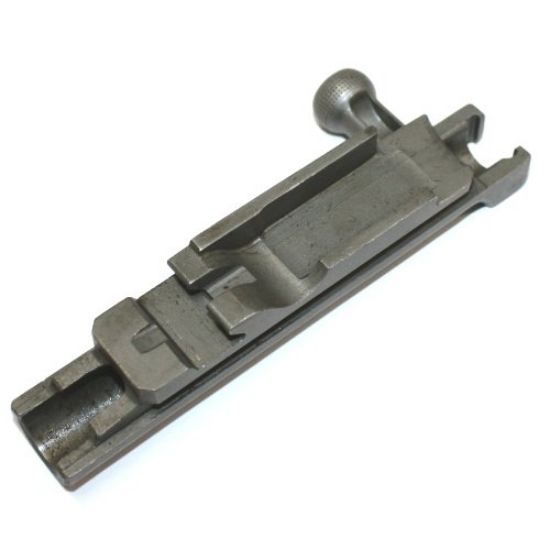
Draw the bolt carrier fully to the rear — further back than it travels in firing — and lift it up and out of the receiver.
The bolt comes with it, or drops free of it as you lift. They are not fastened together; the carrier’s cam surfaces simply capture the bolt. Turn the carrier over and the bolt will separate.
That is the point at which you can see the whole locking system: the cam on the underside of the carrier, the heel of the bolt that drops into the receiver recess, and the recess itself in the receiver floor.
The firing pin is inside the bolt at this stage and should rattle when you shake the bolt. If it does not rattle, stop and read Vol 12 before you do anything else.
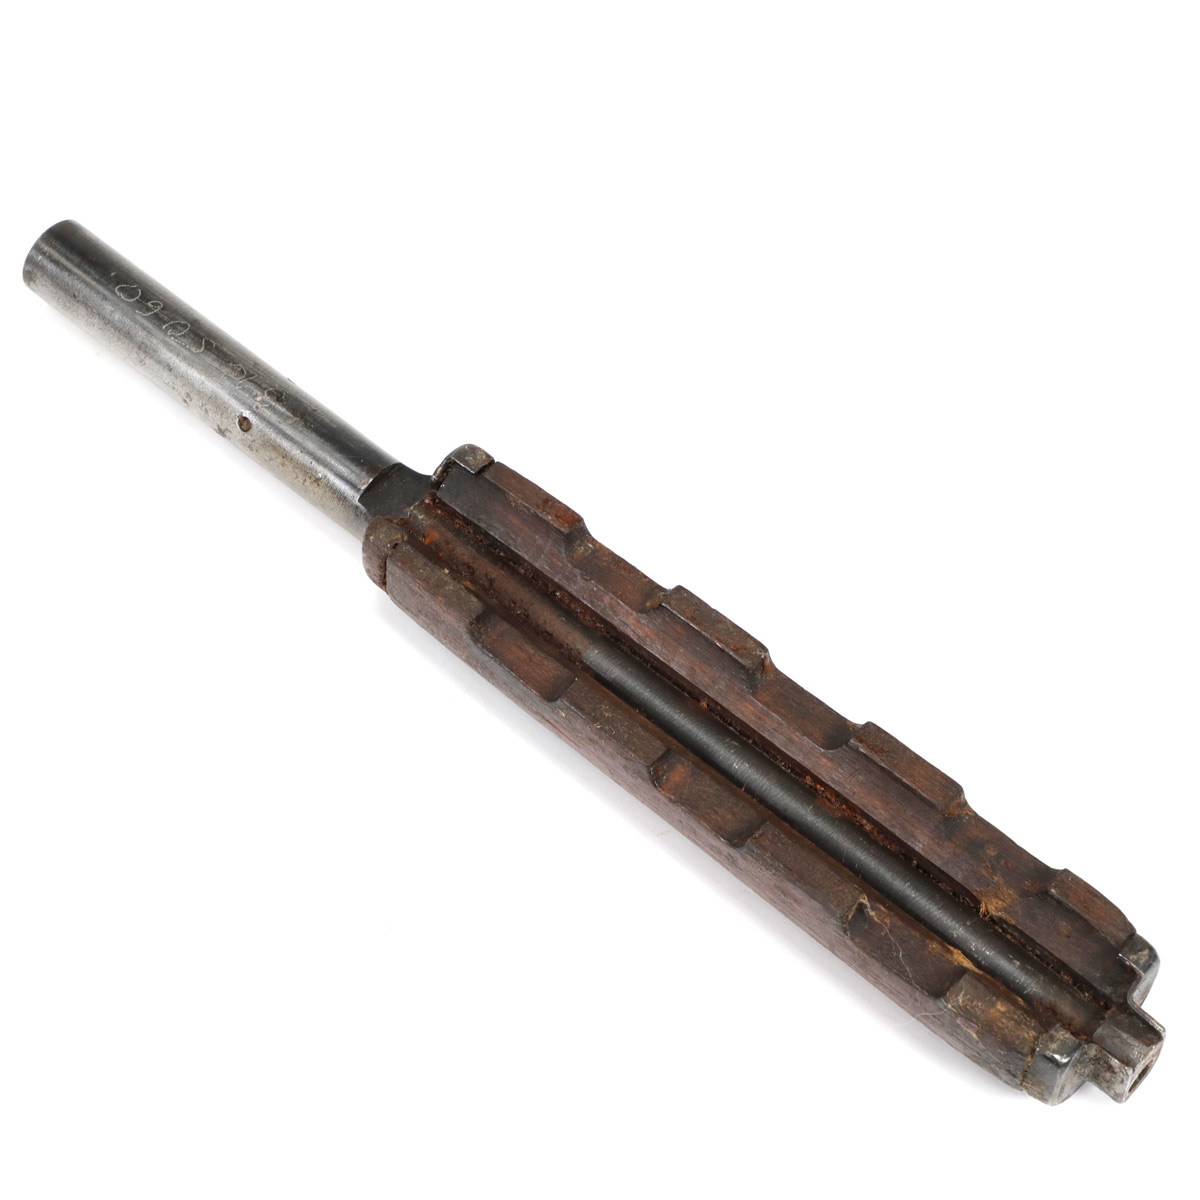
10.6 Step 5 — Gas Tube and Upper Handguard
On the right side of the rear sight base there is a small lever, similar in shape to the receiver-cover lever but smaller.
Rotate it upward to roughly 45 degrees above horizontal. That turns a flatted shaft that clamps the rear of the gas tube.
Then lift the rear of the gas tube and upper handguard — they are one assembly — and pull it up and off. It disengages from the gas block at the front.
⚠ This is the step where people bend something. If the tube will not lift, the lever is not far enough round. Go back and rotate it further rather than prying at the tube. The tube is thin-walled and a bent gas tube is a genuine nuisance to source.
10.7 Step 6 — Gas Piston and Extension
With the tube off:
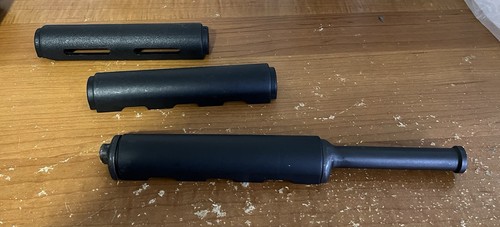
- The gas piston slides out of the gas block at the front.
- The piston extension and its spring come out of the rear sight base at the back.
Both are loose parts and neither needs tools. Note which way round the piston goes before you take it out; it is not symmetrical.
This is the assembly that carbons up worst, and cleaning it is the single most useful maintenance job on the rifle. On a Yugoslav rifle with a non-chromed bore and a diet of corrosive surplus, it is not optional.
10.8 Step 7 — Trigger Group
Put the safety ON. The trigger group comes out with the hammer cocked, and a cocked hammer in a group you are holding in your hand wants to fall.
Inside the rear of the trigger guard there is a latch. Depress it — a punch, a screwdriver shaft, the rim of a cartridge case, or a fingertip if you have strong fingers and the rifle has been apart before.
With the latch down: push the trigger group forward, then lift the rear of it up and out.
The forward push is the part people miss. The front of the trigger housing hooks onto two lugs on the receiver — this is exactly what the 1955 CIA source noted as a difference from the technical data the Agency already held — so the group has to be moved forward to disengage the hooks before the rear will rise.
10.9 Steps 8 and 9 — Magazine and Stock
With the trigger group out, the magazine is free. Pull the rear of it down and away, rotate it slightly around its front end, and it lifts out of the receiver and stock.
The barrelled action then lifts straight out of the stock. Nothing else holds it in — no action screws, no bedding blocks. That single fact is why re-stocking an SKS is a fifteen-minute job and why Vol 13 exists.
10.10 The Yugoslav Extra
Everything above applies to an M59 or M59/66 unchanged. Two additional notes:
- Check the grenade sight is down before you conclude the gas system is faulty. Sight up means gas off — Vol 8 § 8.1.
- The non-chromed bore and gas system mean that a field strip after shooting corrosive ammunition is not a monthly chore, it is a same-day one. Hot water or a water-based solvent through the bore, the gas tube and the piston, dried, then oiled.
10.11 Reassembly
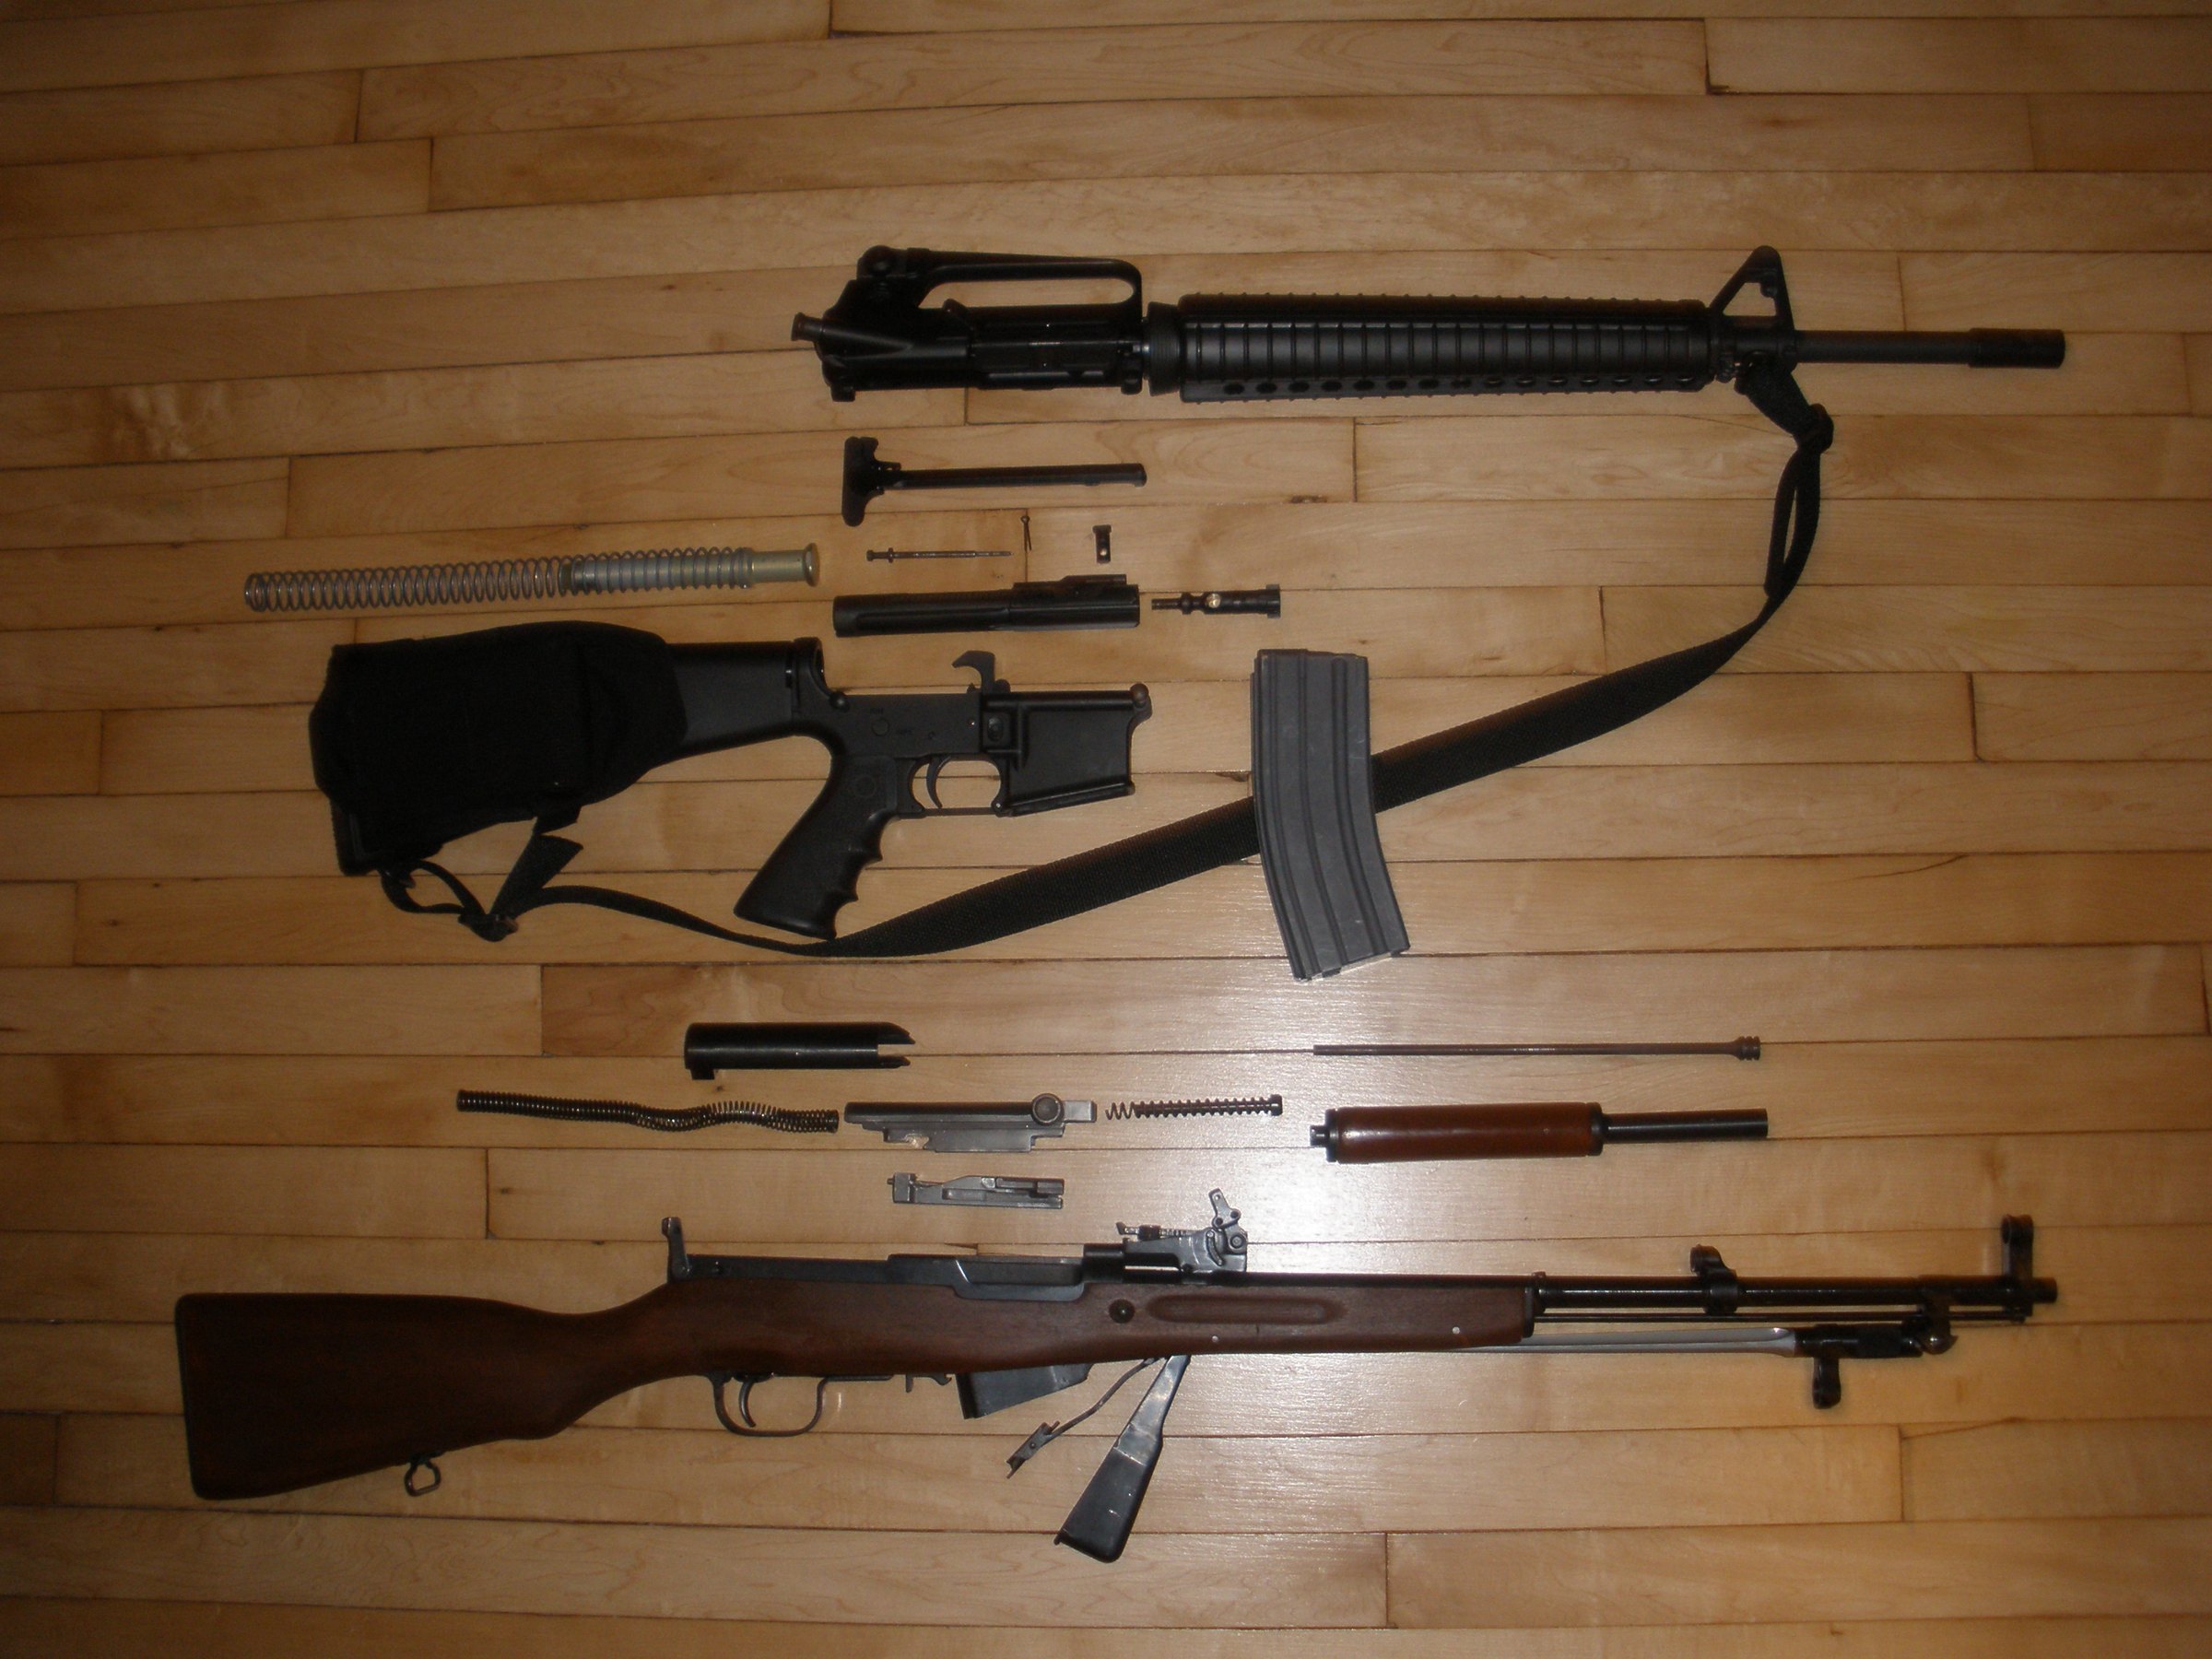
Reverse the order: stock, magazine, trigger group (front hooks first, then rear down and back until the latch clicks), piston and extension, gas tube (lever back down), bolt into carrier, carrier into receiver, recoil spring, cover, retaining lever rotated back down.
Three things to check before you call it done:
- The retaining lever is fully rotated down, not just pushed in. If it is proud, the cover is not captured.
- The gas tube lever is fully down. Same logic.
- Function check: safety on, pull the trigger — nothing should happen. Safety off, cycle the bolt, pull the trigger — hammer should fall. Hold the trigger back and cycle the bolt — the hammer should not fall; that is the disconnector doing its job. Release the trigger and you should feel and hear the reset.
If the disconnector check fails — that is, the hammer follows the bolt down while you hold the trigger — the rifle needs a gunsmith before it needs ammunition.
Comments (0)