Traditions Blunderbuss Kits · Volume 8
Bluing & Browning the Barrel: Why, and Exactly How
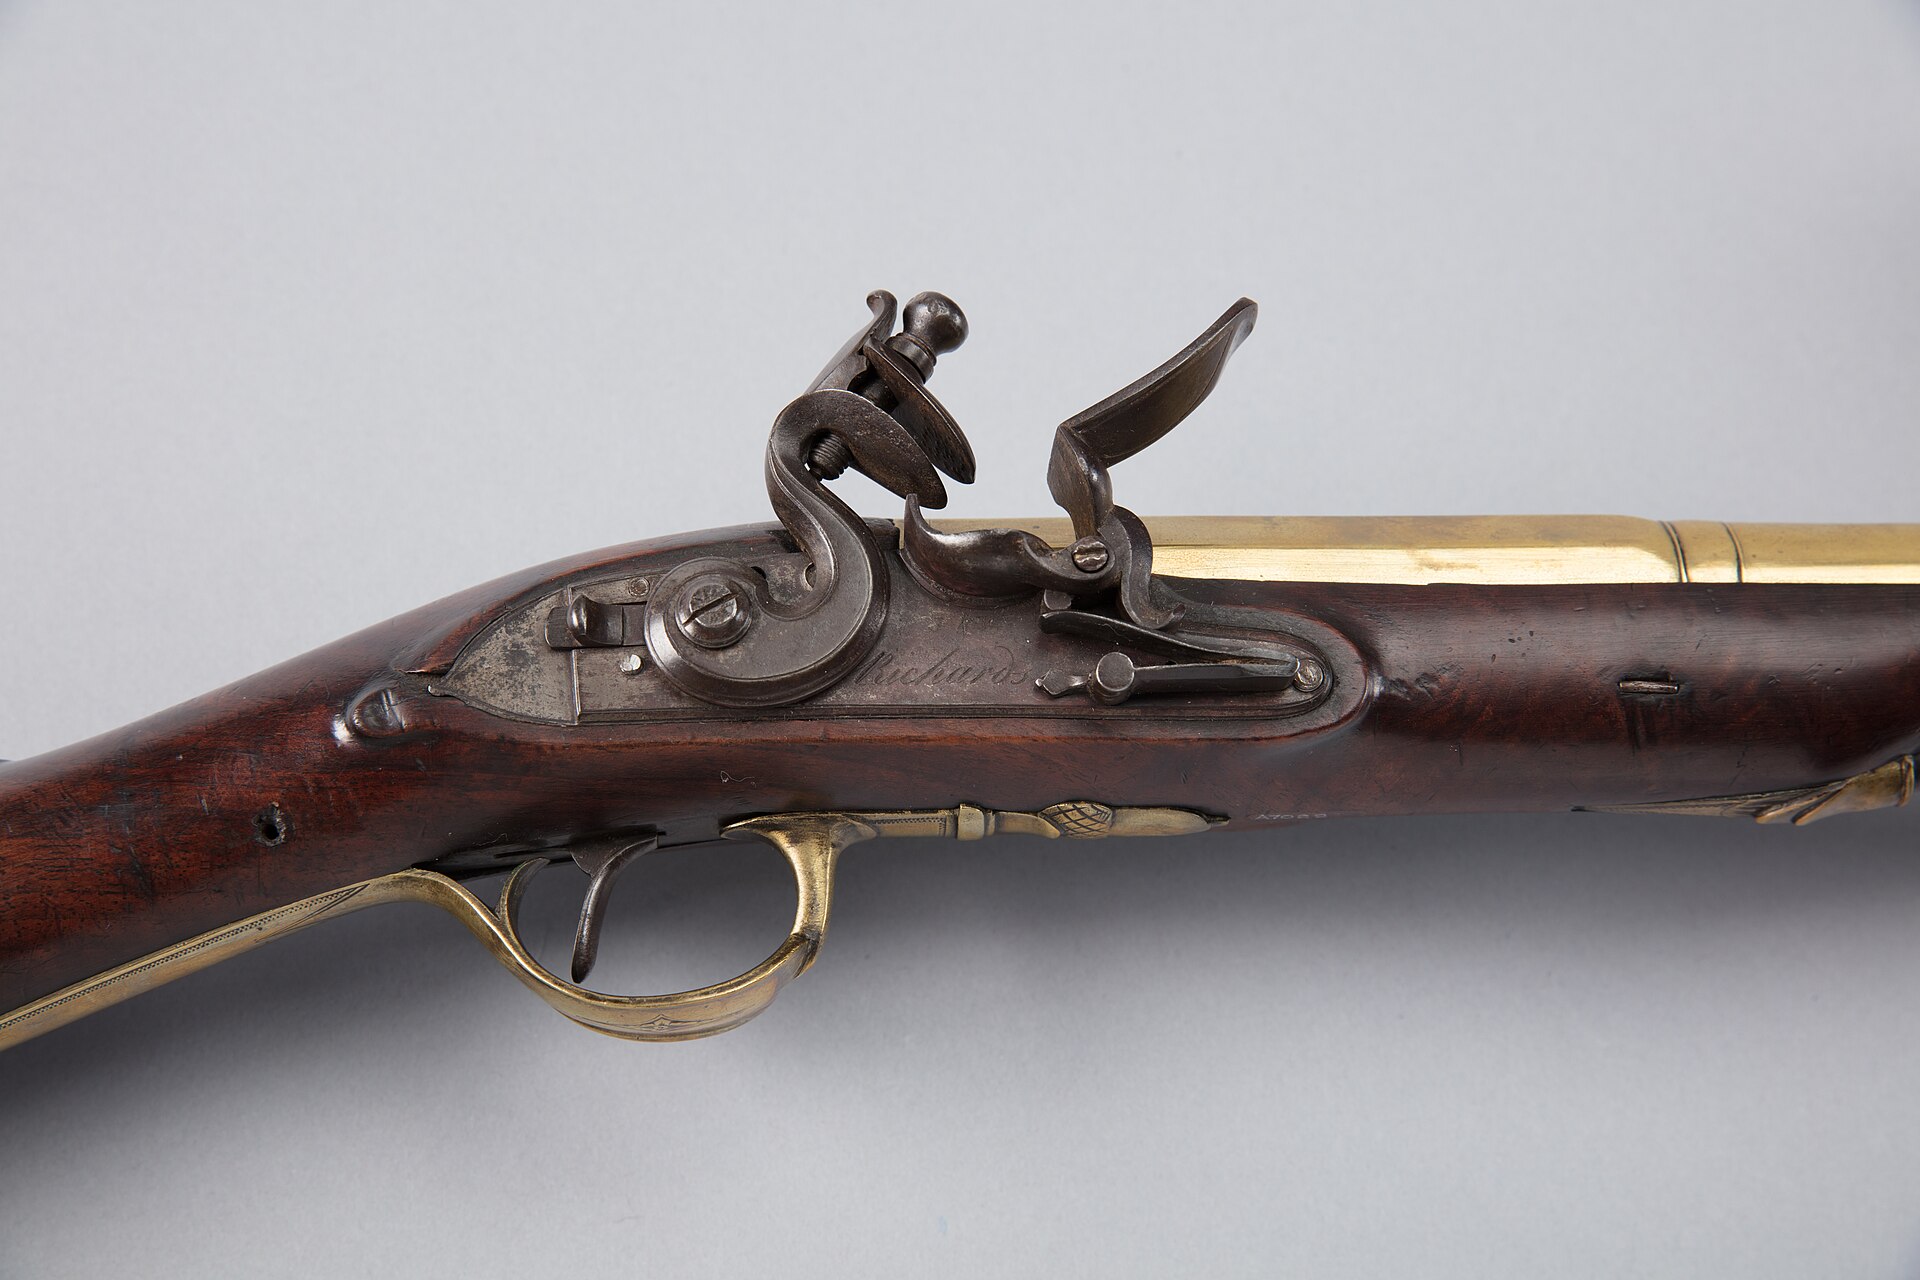
Your kit’s barrel ships “in the white” — bare, polished, unprotected steel. Leaving it that way is not an option: bare steel rusts, and a black-powder gun’s own fouling is corrosive enough to freckle a white barrel with orange in a day. This volume covers why you finish a barrel, the four ways to do it, and step-by-step instructions for the two that make sense on a kit blunderbuss at home. The question this answers directly: why blue the barrel, and exactly how?
8.1 Why finish a barrel at all
“In the white” means bright bare steel. You finish it for three reasons, in order of importance:
- Corrosion resistance. Bluing and browning are both controlled rusting. Instead of letting the steel grow red rust (ferric oxide, Fe₂O₃) that flakes and eats into the metal, you deliberately grow a stable, tightly-bonded oxide layer — black magnetite (Fe₃O₄) for a blue, or a converted, arrested brown ferric oxide for a browning. That bonded layer occupies the surface so aggressive red rust can’t get a foothold. On a muzzleloader, whose fouling actively attacks steel, this is the whole point.
- Glare. A bright barrel throws sunlight in your eyes and flashes your position. A blued or browned barrel is matte or subdued and comfortable to look down.
- Appearance, and period correctness. A finish just looks finished — and for a blunderbuss specifically, the right finish is a historical statement (more on that next).
That’s the “why.” The rest of this volume is the “how.”
8.2 Which finish belongs on a blunderbuss
There are four finishes worth naming. For a period blunderbuss, they are not equal:
- Rust browning — the historically correct choice. Rust brown was the standard barrel finish of the flintlock and early-percussion era. Modern hot bluing didn’t exist; the “bluing” of the period was slow rust bluing, which looks nothing like today’s tank blue. A brown barrel is what a real blunderbuss wore. This is the finish to reach for if you care about authenticity.
- Slow rust bluing — also period-plausible. A deep blue-black grown by the same rust-and-convert process. Beautiful, durable, and correct for the era in the way a bright modern blue is not.
- Cold bluing — the quick, least-authentic option. Fast and cheap, but thin, and a bright modern-looking blue that reads wrong on a period gun. Fine as a budget or first-project finish; not the authentic look.
- Hot caustic bluing — do not attempt at home. The factory finish, and the wrong tool here (covered at the end so you know why).
One rule dominates all four: degrease obsessively. Any oil, wax, or fingerprint leaves a blotch or a bare streak. Wipe the polished barrel with acetone or denatured alcohol, then handle it only with clean gloves or by a plug in the muzzle. Even the steel wool you card with must be washed in solvent first to remove its packing oil. More finishes are ruined by grease than by bad technique.
8.3 Full barrel, or just the outside?
You finish the outside of the barrel — including the face of the flared bell. Leave the bore bright. A black-powder bore gets swabbed and oiled after every single use anyway, so it doesn’t need a protective finish, and you actively don’t want browning scale flaking off inside the bore. “Full” bluing (inside and out) is a modern smokeless-gun idea and is pointless — even counterproductive — on a muzzleloader. When you brown or blue, plug the muzzle and cover the vent or nipple hole so solution and rust can’t creep into the bore or the breech threads. (Note: builders report these barrels are effectively two-piece — a straight breech section with the flared muzzle formed separately, showing a seam inside the bore near the bell — which is cosmetic to you but another reason to keep solution out of the bore.)
8.4 Method 1 (recommended): traditional rust browning
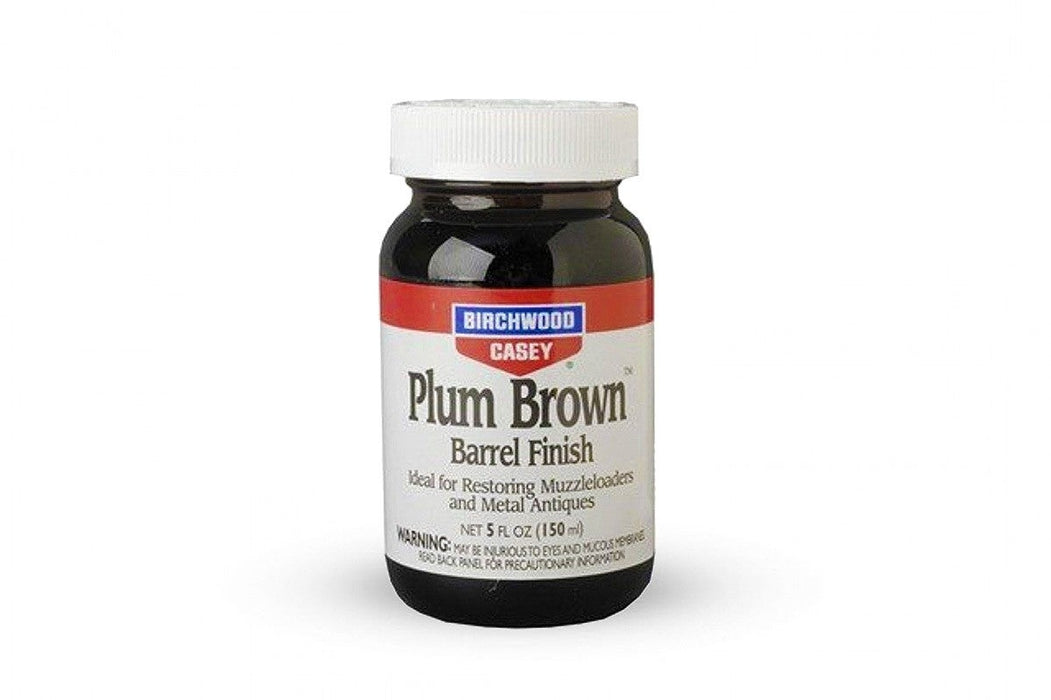
This is the period-correct finish and, with the right product, close to foolproof. The builders’ favorite is Laurel Mountain Forge “Barrel Brown & Degreaser”, which degreases and browns in one solution. (Birchwood Casey Plum Brown is the hot, fast alternative — covered after.)
Cold rust browning, step by step:
- Polish the barrel to the surface you want — the finish mirrors it. A soft, even matte around 320–400 grit is traditional and forgiving; a higher polish gives a glossier brown.
- Degrease hard. LMF is self-degreasing, but wipe with acetone first anyway. Gloves on from here. Plug the muzzle; cover the vent/nipple.
- Apply a very thin coat with a soft brush or swab — blot the applicator so it’s nearly dry. Do not rub or scrub it in. Over-application or rubbing causes a coppery haze that actually inhibits browning. One light, even wipe down the barrel.
- Let it rust to a thin, even brown. It works best around 70–80°F with moderate-to-high humidity — a damp box or a closed bathroom with a pan of hot water helps. Too dry stalls it; soaking wet also hinders it.
- Card off the loose surface scale with canvas, denim, or degreased 0000 steel wool. You’re removing the powdery loose rust and leaving the bonded brown beneath. It’ll look thin after the first card — that’s normal.
- Re-apply, re-rust, re-card. At roughly 3-hour intervals, cold, an average barrel reaches a deep even brown in about 4 to 6 cycles.
- Stop the rusting. When the color is right, neutralize with a baking-soda-and-water wash (or the maker’s neutralizer) to kill the active rusting, then watch it for a few days to confirm it’s not still creeping.
- Oil, and optionally wax. A coat of oil arrests the process and protects; a paste wax over it gives a drier, more weatherproof surface. Done.
Plum Brown (hot browning) — the fast alternative:
- Degrease and polish as above; plug the bore.
- Heat the metal with a propane torch (or a toaster oven) to roughly 275–300°F — a drop of water skitters and flashes off.
- Swab the Plum Brown on while hot; it browns on contact — no waiting for slow rust.
- Wipe/card, reheat, and re-apply to even and deepen the color.
- Rinse or neutralize, dry, oil. The trick with a flared blunderbuss barrel is getting even heat over the bell versus the straight section; work in passes and don’t let one area run hotter. Faster than cold browning, slightly less “authentic” in texture, but a good result.
8.5 Method 2: slow rust bluing
If you want a period-plausible blue-black instead of brown, you use the same rust-and-card process but convert the red rust to black magnetite by boiling. Conveniently, Laurel Mountain Forge browning solution makes an excellent rust blue — you brown it, then boil it, and it turns blue-black.
Per cycle:
- Degrease; polish; plug the bore.
- Swab a thin coat of rust-blue (or LMF browning) solution; hang the barrel in a humid spot.
- Let it rust to an even red-brown over several hours.
- Boil the barrel in distilled water for 10–20 minutes — the red oxide converts to black magnetite. (Distilled water only; tap-water minerals spot the finish.)
- Card off the loose black scale with fine steel wool or a carding cloth, leaving the bonded blue.
- Repeat 4–8 cycles until the blue is deep and even.
- Oil to stop and protect.
It’s a week of short sessions, but the result is a durable, antique-correct blue that a bright cold blue can’t match.
8.6 Method 3: cold bluing (quick, least authentic)
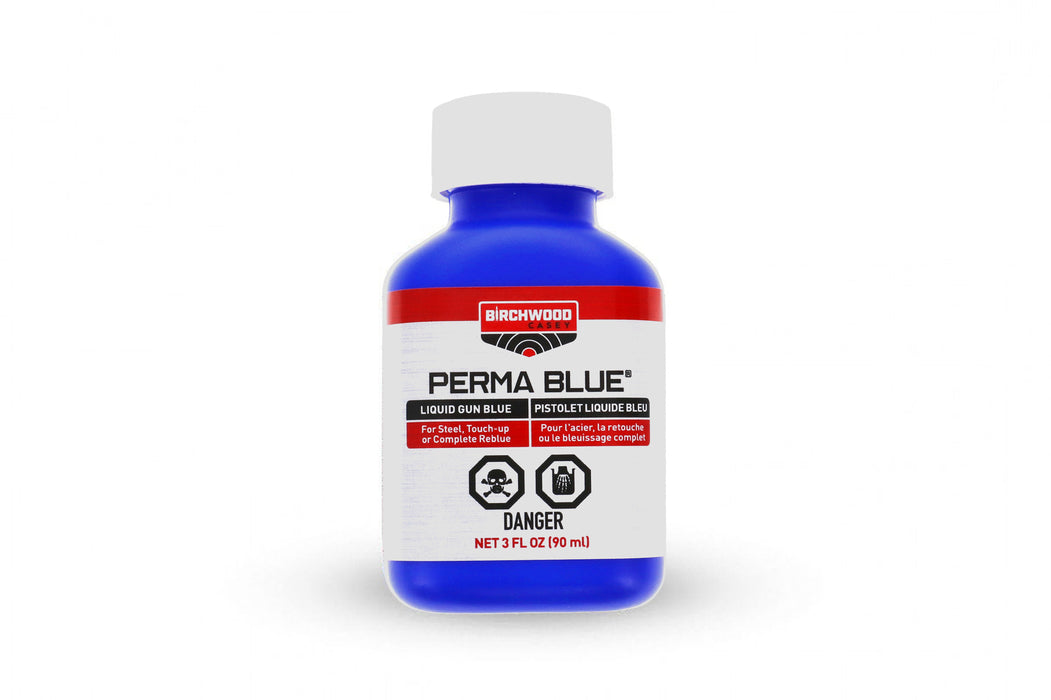
Cold blue is a selenium/copper touch-up chemistry — fast, cheap, no heat, but thin and not very durable, and it rarely goes on perfectly even over a whole barrel. It’s a reasonable first-project or budget finish; just know it reads as modern and will need renewing. Products: Birchwood Casey Perma Blue (liquid or paste), the hotter/darker Super Blue, and Brownells Oxpho-Blue (more durable and even than Perma Blue — the pick if you go cold).
Steps:
- Polish to the sheen you want (cold blue mirrors the surface; 400–600 grit is typical).
- Degrease completely — Birchwood Casey Cleaner/Degreaser or acetone. No fingerprints. Plug the bore.
- Shake the bottle; wipe on a thin even coat with a cotton ball or clean patch (gloves on).
- Let it work about 30–60 seconds as it darkens.
- Rinse with cold water (or wipe per the label) to stop it; dry.
- Card back with degreased 0000 steel wool to even the color.
- Repeat apply → rinse → card several times to build depth.
- When satisfied, rinse, dry, and oil to protect. Renew as it wears.
8.7 Method 4: hot caustic bluing — why NOT at home
This is the deep, durable factory blue. The barrel is boiled in a caustic salt bath — sodium hydroxide (lye) plus nitrates at roughly 285–310°F — in a steel tank. It needs dedicated tanks, a serious burner, an accurate thermometer, and molten lye, which throws severe caustic burns and fumes if it splashes. It is neither practical nor safe on a kitchen bench, and it is overkill for a black-powder gun you’ll swab after every outing. It’s here only so you understand why the sane home path is rust browning, rust bluing, or cold blue — not the tank.
8.8 The bottom line for your blunderbuss
- Want it right? Rust-brown it (LMF cold, or Plum Brown hot). That’s what a real blunderbuss wore.
- Want a deep period blue? Slow rust blue.
- Want it done tonight? Cold blue, and accept that it’s the least authentic and least durable.
- Whichever: degrease like your finish depends on it (it does), keep the solution out of the bore, and seal it with oil when you’re finished.
Now reassemble the finished barrel to the finished stock (from Volume 6’s fitting), and the gun is built. Volumes 9 and 10 are about feeding and firing it.
Comments (0)