Traditions Blunderbuss Kits · Volume 5
Assembly I: Barrel, Tang & Lock — Inletting and Fit
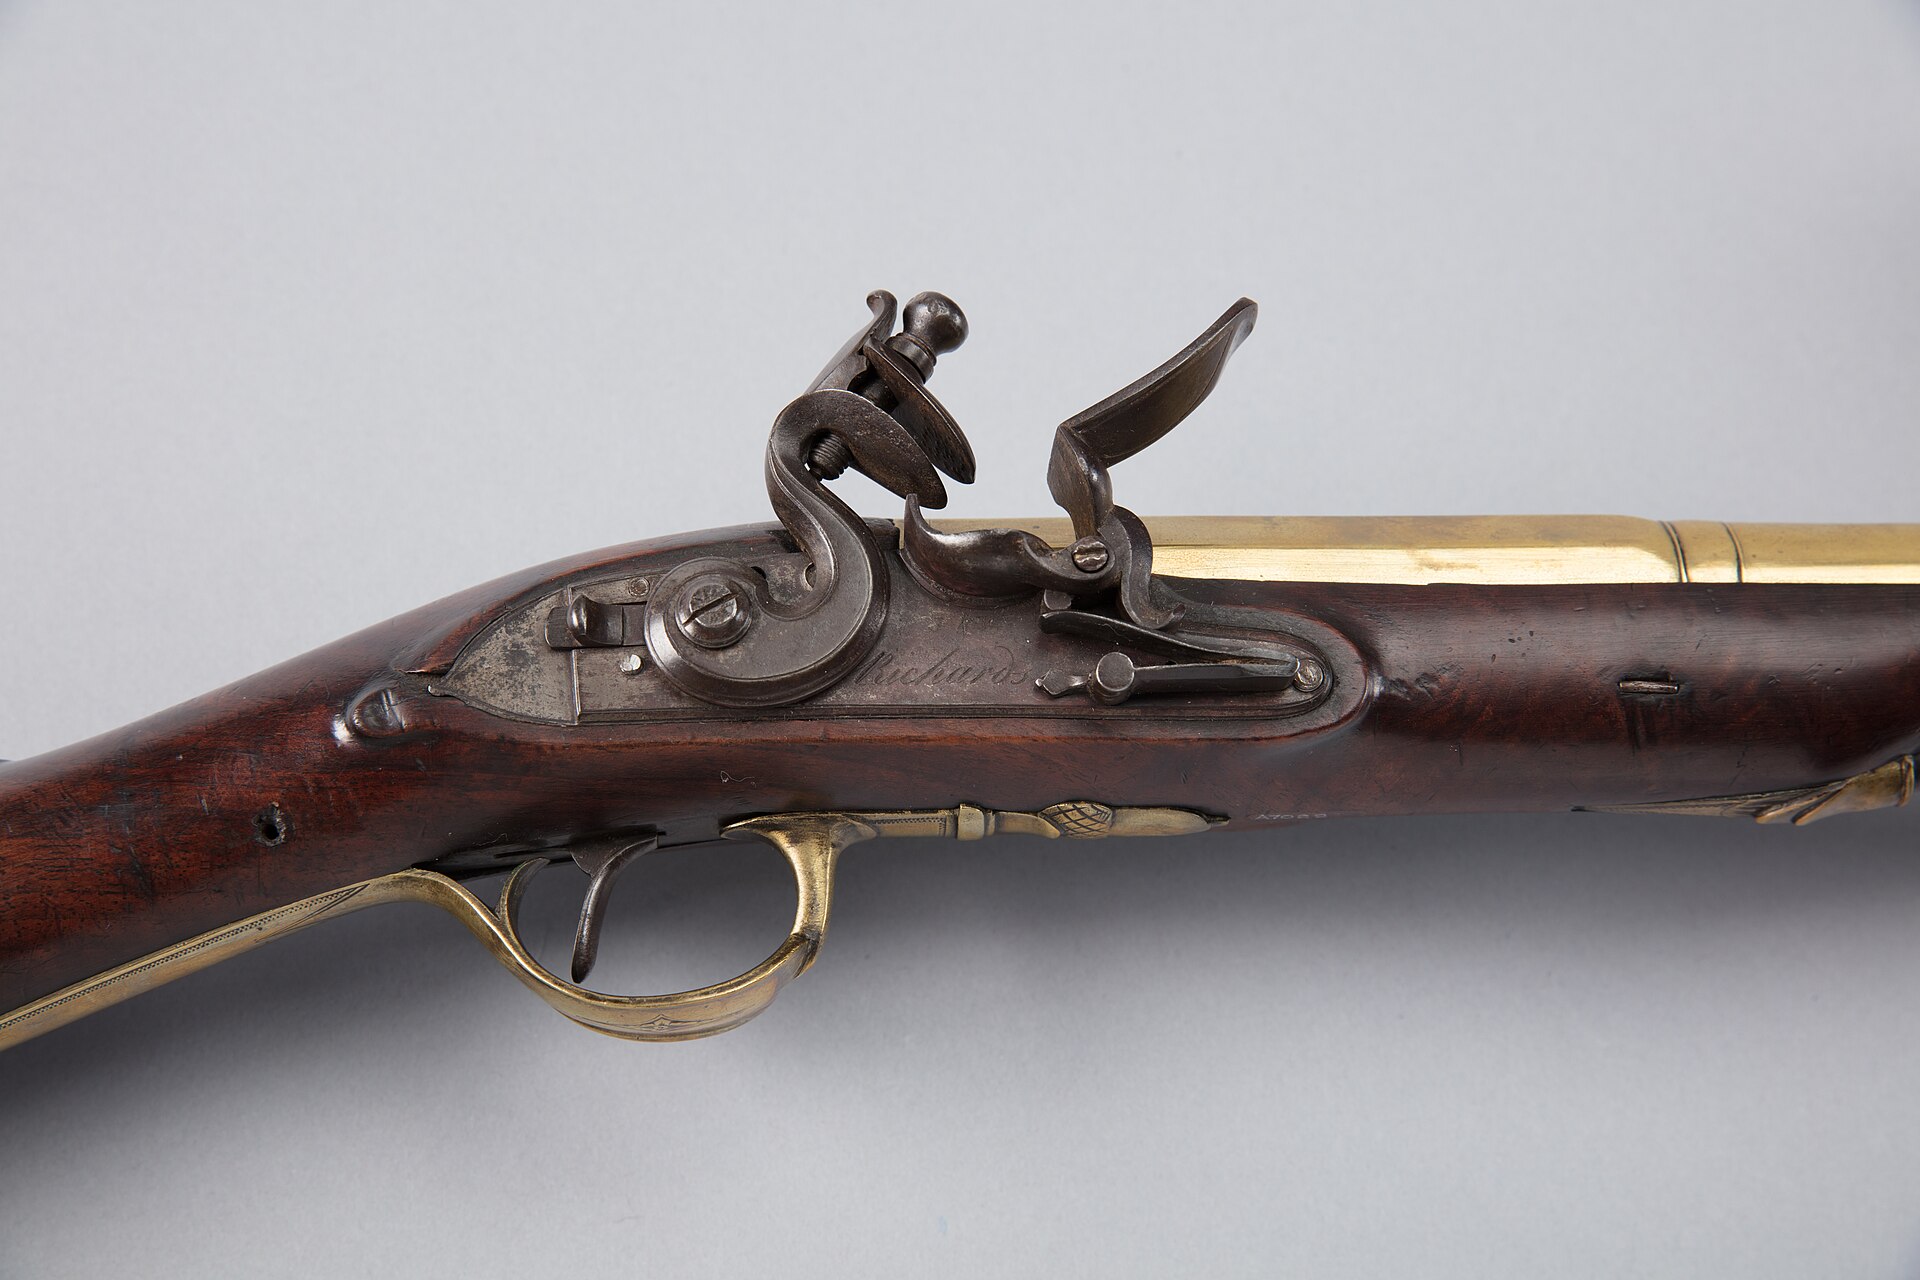
This is the first of two assembly volumes, and it covers the fits that everything else depends on: the barrel into the stock channel, the tang onto the wrist, and the lock into its mortise so that the hammer or cock lines up with the nipple or vent and the sear meets the trigger. Do this whole volume as a dry fit in bare wood and bare metal — nothing stained, nothing blued, nothing glued. You are proving the gun goes together before you commit to any finish.
5.1 The principle: fit to the wood, remove tiny amounts, check constantly
Traditions kits are pre-inletted — the mortises are machined close — so you are usually easing rather than cutting. The universal method for every fit below is the same:
- Coat the metal part’s contact surfaces with inletting black (or lipstick, or soot from a candle).
- Set the part into its mortise and press — don’t force.
- Lift it out. The black transfers to the wood at the high spots that are stopping it seating.
- Remove those high spots only, with a sharp chisel or scraper, a whisker at a time.
- Re-black, re-seat, repeat, until the part drops fully home with even contact.
Never remove wood you can’t see marked. Never force a part to seat — a forced fit splits stocks and cracks lock mortises. The mantra is the part tells you where the wood is proud; you remove exactly that and no more.
5.2 Fitting the barrel to the stock
The barrel drops into the fore-stock channel and seats at the breech. Check three things:
- It beds evenly along the channel with no rocking and no gap at the breech. Black the underside of the barrel and relieve any high spots so it lies down fully.
- The barrel is retained correctly. On these kits the barrel is typically held by the tang screw at the rear and by a cross-pin (or wedge/key) through the fore-stock into a lug under the barrel. Confirm the pin holes in the stock line up with the barrel lug; if they’re a hair off, the classic fix is to very slightly elongate the lug hole, not the wood — but verify against the manual first, because you can only remove metal once.
- The muzzle and nose cap sit right. The flared muzzle should stand clear at the front; the brass nose cap (if fitted) should wrap the fore-end tip cleanly. Ease the wood, not the flare.
5.3 Fitting the tang
The tang is the flat steel tongue extending back from the breech over the wrist of the stock; a screw through it (the tang bolt) ties the barrel down and, on many designs, threads into the trigger plate below to sandwich the wrist. Two points:
- The tang should sit flush or very slightly proud of the wood, never sunk below it — you can always sand wood down to a proud tang when finishing, but you can’t raise a sunk one. Black it and relieve the mortise until it beds.
- The tang bolt must line up with its hole in the trigger plate (or its captive nut). Dry-assemble tang, wrist, and trigger plate together and confirm the bolt runs straight and pulls everything tight. A cocked tang bolt is a sign the mortise or the plate needs adjusting, not that the bolt needs forcing.
5.4 Fitting the lock
The lock is the fussiest fit and the most important, because a badly-seated lock either won’t fire reliably or won’t sit flush. Work in this order:
- Seat the lockplate in its mortise. Black the inside faces of the plate and the internal parts (the mainspring, sear, tumbler) and seat it. The internal parts often need the most wood relieved — the machined mortise clears the plate but not always every internal projection. Relieve until the plate beds flat against the wood with the lock’s inner workings clearing freely (a lock whose internals are binding on wood will feel gritty when you cock it).
- Check hammer/cock alignment. With the lock seated, cock and drop it by hand. On the KR500 the hammer face must land square and centered on the nipple. On the KR510 the flint must strike the full face of the frizzen and the pan must sit under the vent. If the alignment is off, the problem is almost always lock seating depth or fore/aft position — fix it here, not by bending parts.
- Fit the lock bolts. The lock is held by one or two bolts passing through the stock from the opposite side (often through a sideplate or washer) into the lockplate. Confirm they draw the lock tight without over-standing proud on the far side.
- Confirm the vent/nipple geometry. KR500: the nipple threads into the drum/breech and the hammer reaches it — check the flash channel is clear. KR510: the vent (touch hole) in the barrel side should sit at or just above the level of the pan, so pan-flash reaches the charge. This relationship is fixed by the barrel and lock, but confirm nothing is obstructing it.
5.5 The lock-to-trigger relationship
Finally, dry-assemble the lock, the stock, the trigger, and the trigger plate together and test the trigger pull by hand. Cock the lock, pull the trigger, and confirm the sear releases cleanly — the hammer or cock should fall crisply. If the trigger doesn’t reach the sear, or drags, or won’t hold at full cock, the trigger position or the trigger-plate fit needs adjusting. This is the single most common kit “problem,” and it is almost always geometry — where the trigger blade meets the sear — not a bad part. Volume 6 covers the trigger and guard fit that finalizes this. Get a clean, safe sear release in the dry fit before you go any further; a muzzleloader that won’t hold at cock or fires on cocking is dangerous and must be sorted on the bench, never at the range.
With barrel, tang, and lock all seating fully and the lock releasing cleanly, the hard fitting is behind you.
Comments (0)