Traditions Blunderbuss Kits · Volume 7
Finishing the Stock: Whiskering, Staining & Oil
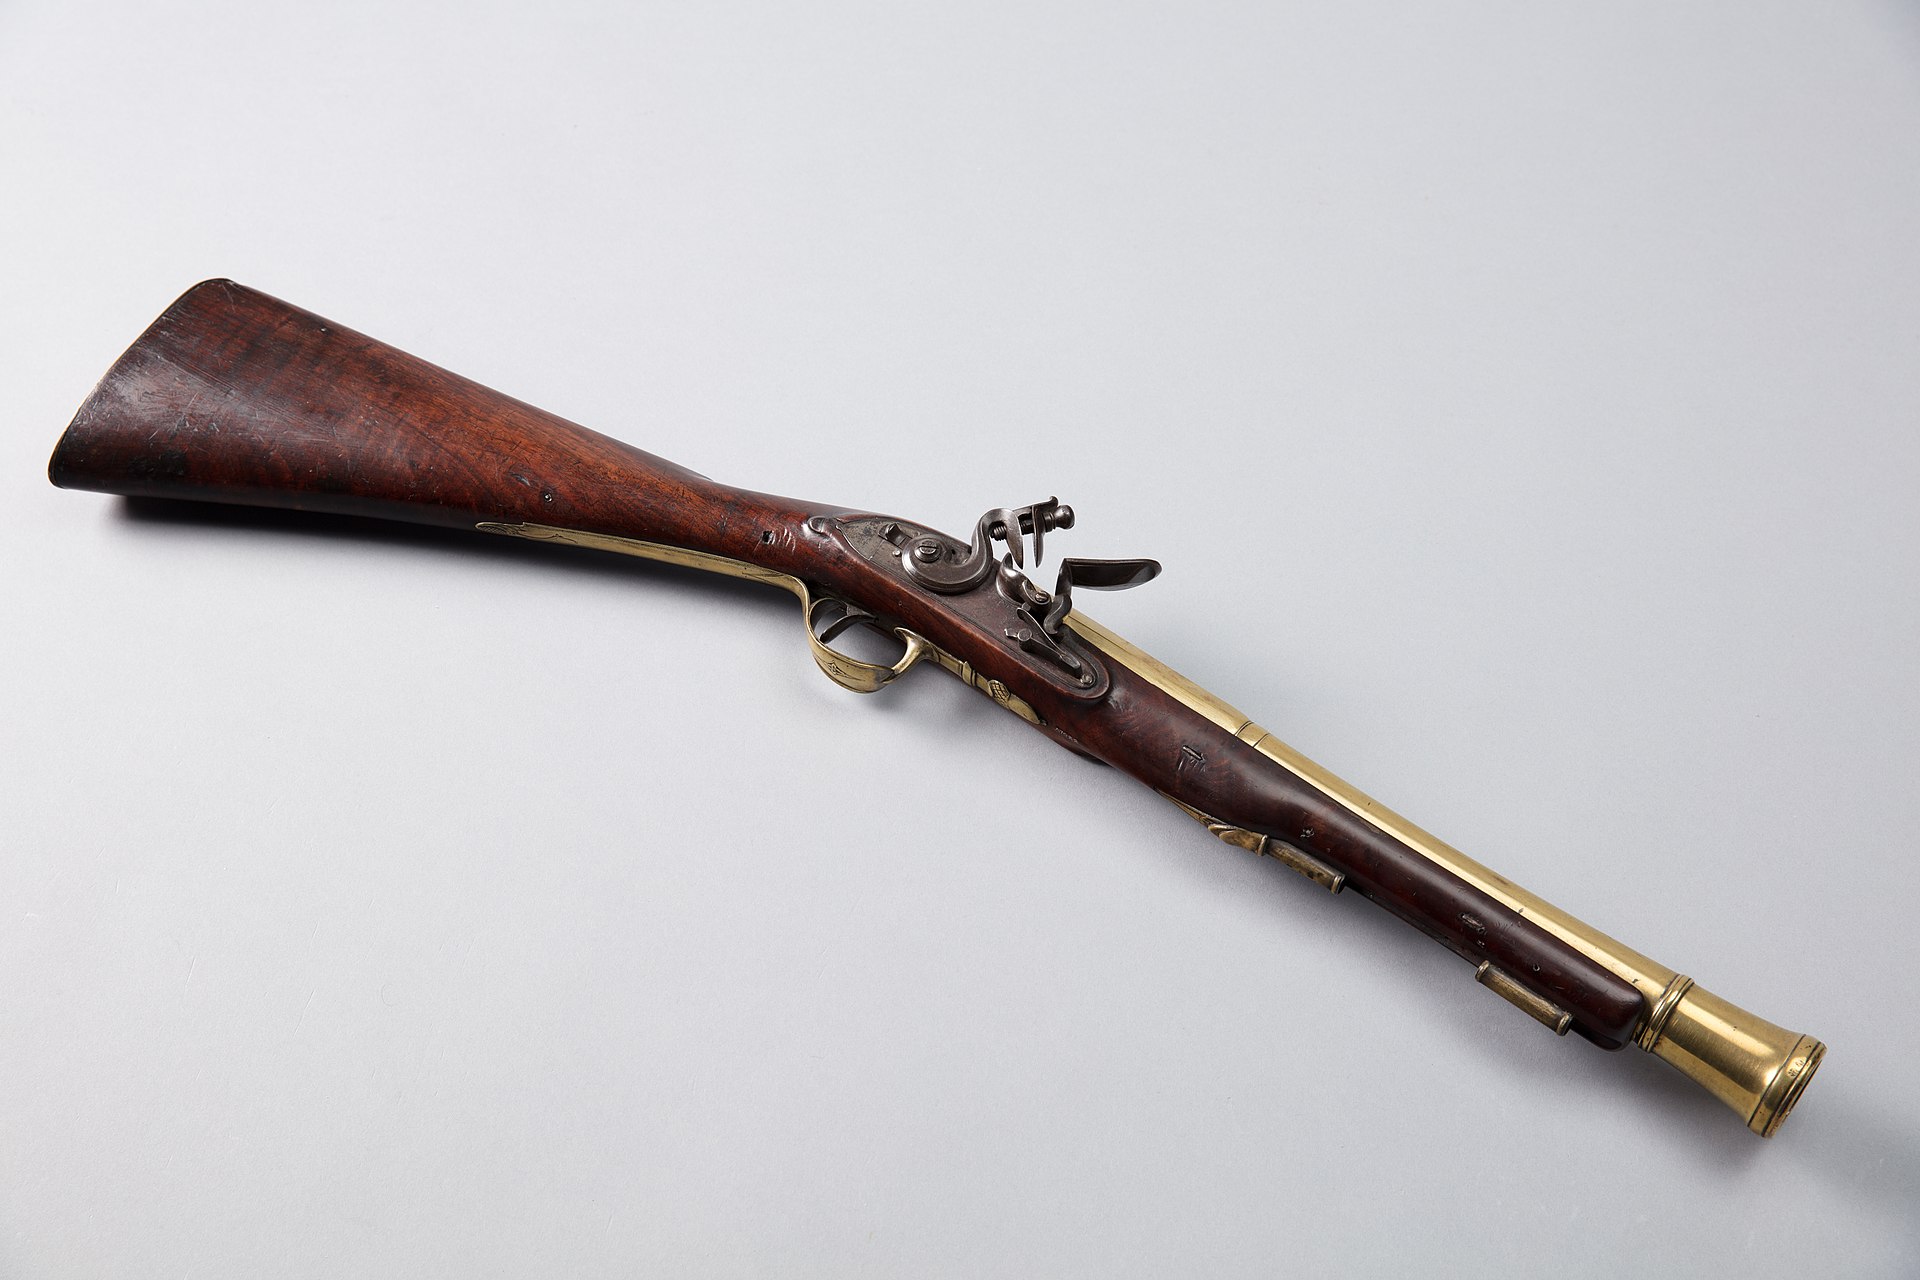
The stock is where a kit stops looking like a kit. Two evenings of careful finishing separate a gun you’re proud of from one that looks like a hardware-store project, and the work is almost entirely patience — there’s very little that’s difficult, and a great deal that rewards not hurrying. This volume assumes you’ve completely dry-fit and then disassembled the gun (Volume 6): you’re finishing a bare stock, off the gun, with the barrel and lock out.
One note specific to these kits: the “select hardwood” stock is beech, not curly maple. That matters below, because the most romantic period technique — aqua fortis — is really a maple trick, and on beech it gives a plainer result. A dye or pigment stain under an oil finish is the more predictable route for this particular wood.
7.1 Step 1 — Final shaping and sanding
Stain and oil magnify every scratch and machine mark, so surface prep is most of the battle:
- Work through grits: start around 120 to knock down any proud spots and remaining tool marks, then 180, then 220. Many builders go to 320 or 400 before an oil finish for a glassier surface.
- Use a sanding block on the flats so you don’t dish them, and fold paper for the curves.
- Sand with the grain, and get every glue smear and handling mark now — an oily fingerprint will resist stain and show as a light blotch later.
- Don’t round over crisp edges (like the lock-panel borders) unless you mean to; keep the architecture the maker built in.
7.2 Step 2 — Whisker the grain (raise and knock down)
Water-based finishes and stains raise the wood’s fibers into a fuzz (“whiskers”). If you don’t deal with them before finishing, your first coat dries rough. So you raise them on purpose and cut them off:
- Wipe the whole stock with a rag or sponge dampened with distilled water. The surface will feel fuzzy as it dries.
- Let it dry fully; the whiskers stand up stiff.
- Knock them down with 320–400 grit or 0000 steel wool, lightly — you’re shaving the fuzz, not re-sanding.
- Repeat two or three times, until a wetted surface no longer raises fuzz.
This one boring step is the difference between a smooth first coat and a gritty one.
7.3 Step 3 — Color the wood
Two reliable families of stain for a beech kit stock:
- Water-based aniline / iron stains — e.g. Laurel Mountain “Maple,” “Nut Brown,” or “Cherry.” These penetrate deep, are very controllable, and give a traditional look. They raise the grain slightly, so whisker once more after they dry. This is the route most kit builders prefer.
- Alcohol / spirit stains — e.g. Fiebing’s leather dye or aniline in alcohol. They dry fast and barely raise the grain, and layer easily — but beech can blotch with them, so test on a scrap or a hidden area first and build color in thin passes.
Whichever you use, build the color in thin coats and stop lighter than you think you want — the oil finish deepens it. Wipe stain on evenly, don’t flood it, and don’t let it pool in carving or corners.
7.3.1 The period option: aqua fortis (best on maple, honest results on beech)
If you want the traditional 18th-century method — and it’s worth understanding even if you don’t use it here — aqua fortis is a dilute iron-in-nitric-acid solution that colors the wood by a heat-triggered chemical reaction rather than a pigment:
- Degrease and clean the bare surface.
- Brush on the aqua fortis. It goes on a greenish-yellow and looks like nothing happened.
- “Blush” it with heat — play a propane torch or heat gun evenly over the wood. The acid converts and the wood flashes to a deep reddish-orange-brown, popping any figure. Keep the heat moving; scorch marks are permanent.
- Let it dry about an hour, then repeat apply-and-blush until the color is right.
- Knock back the rusty surface haze with 0000 steel wool.
- Neutralize — this is the step people botch. Residual acid keeps darkening the stock toward black for months and can rust any steel it touches. A baking-soda-and-water wash, or household ammonia, neutralizes it; slop it on, rinse, and let the stock dry hard before you oil it.
On beech, expect a pleasant but plainer brown than the flaming figure aqua fortis gives on tiger maple. That’s not a failure — it’s the wood. For this kit, a Laurel Mountain water stain gets you a more predictable period color with far less drama.
7.4 Step 4 — Build the oil finish
A muzzleloader stock wants an oil finish, built from many thin, hand-rubbed coats. Pick one:
- Boiled linseed oil (BLO) — the traditional finish and the slowest. The old rule captures the regimen: once a day for a week, once a week for a month, once a month for a year, once a year forever. Apply very thin, rub in by hand, wipe off all excess each time. Beautiful and authentic; poor water resistance and genuinely slow to cure. Dispose of oily rags safely — spread them flat to dry or submerge them; wadded BLO rags can self-ignite.
- Birchwood Casey Tru-Oil — linseed oil with driers; dries in about 6–8 hours and builds a harder, more water-resistant sheen. The common kit choice: several thin hand-rubbed coats, cut back with 0000 steel wool or worn 400 paper between coats, wiped on thin with cheesecloth. It can be thinned with mineral spirits or BLO for more working time and deeper penetration. Watch that it doesn’t “go white” if carried in wet weather.
- Tung oil / Danish oil / Tried & True — similar hand-rubbed approach; Danish oil is an oil-varnish blend with a bit more protection than straight BLO.
- Permalyn (Track of the Wolf) — a synthetic sealer-plus-finish system made for kit guns: the sealer soaks in and seals, the finish builds a durable satin top. More weatherproof than BLO and far faster than a year of it.
The universal rule: thin coats, many of them. Oil finishes are typically five to ten-plus rubbed-out coats, not two or three thick ones — thick coats stay tacky and look plasticky. Between coats, a light rub with 0000 steel wool or a gray abrasive pad keeps it smooth and knocks off dust nibs. Finish the last coat to the sheen you want: rub it out with wax or steel wool for a soft satin, or leave it fuller for gloss.
7.5 Step 5 — The brass, and the ramrod
- The brass furniture (trigger guard, buttplate, nose cap) can be left bright and polished, or allowed to age to a mellow patina — a matter of taste. Bright brass reads newer and flashier; a dulled patina reads older and, to many eyes, better on a period gun. If you want it bright, polish before final assembly and consider a thin clear lacquer to slow tarnish; if you want it to age, just leave it. Don’t get stock oil on the brass, and don’t get brass polish into the finished wood.
- The ramrod gets the same finish as the stock (or a simple wipe of oil) so it doesn’t swell, split, or splinter. A raw wooden rod is a genuine hand-injury risk when you’re pushing a tight ball; seal it.
When the wood is cured hard and the sheen is even, set the stock aside and do the barrel (Volume 8) before final assembly. Two finished surfaces, done separately, then joined — that’s how a kit ends up looking like a gun.
Comments (0)